MUJI at Home: Watercolor Shading with Gel Ink Pens
Your guide to painting a lovely cherry blossom branch with few supplies—and no expertise.
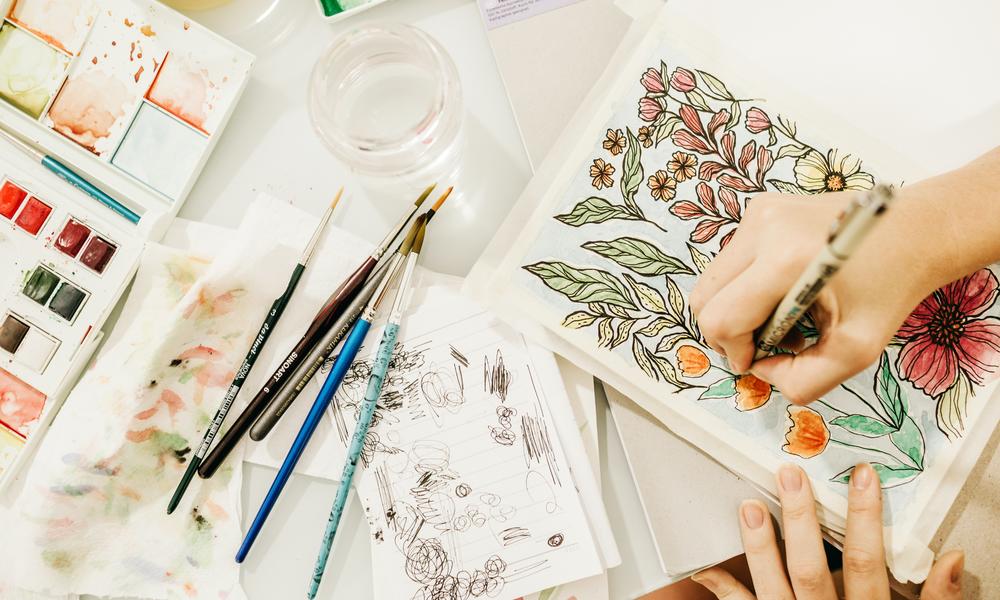
The artistic team at MUJI has dreamed up another creative activity for you, one that promises to be as soothing as it is pretty: painting a cherry blossom branch. If you’re thinking you don’t have the skills, don’t run away yet! This step-by-step instruction requires only paper, gel ink pens and the magic touch of water that turns your simple sketch into a lovely watercolor and you into—wait for it—a budding artist.
SUPPLIES:
- Multimedia paper (or paper weighing at least 160 grams)
- Water Paintbrush
- MUJI gel ink pens
- Ruler and tape (optional)
INSTRUCTIONS:
- Fold the paper to a desired size, then press down the folded edge. (Using a ruler here can help.) Flip the paper over and fold along the crease again to strengthen it. Carefully tear the paper at crease. (Tearing produces a more organic edge than cutting.)
- Tape the paper to your work surface. (This is optional but recommended; it makes the drawing process easier.)
- With a dark pink gel pen, draw five tiny triangles around an imaginary center point. Then starting from one corner of a triangle and ending at another, begin to draw petals. (Pro tip: Refer to a photo of cherry blossom petals to make sure you’re shaping them correctly.) As a rule, gentle slopes are better than perfectly rounded ones. Using this technique, make more flowers around the page.
- Once you have the outer shape, add details like pistils and lines in the petals. Don’t overdo it: You’re aiming for an impressionistic look, not photographic realism. Feeling adventurous? Draw some folded petals, or a few drifting in midair.
- Wet your brush; then starting at the center of a blossom, shade the petals by radiating the brush outward. The gel ink will run once it is contacted by water, creating a gentle watercolor effect.
- With a black gel pen, draw loose, slightly uneven lines between the blossoms to create branches. Add protruding twigs and small buds.
- Once the petals have dried, add a few shading lines with a red pen, and some more pistils with a black one.
- Shade the branches using the same wet-brush technique, making sure the water mainly touches the bottom sides of the branches.
- Hang your masterpiece on the wall, or use it as a notecard to send to a friend.
Interested in more creative ideas from MUJI? Here’s a DIY that gives new life to old clothes.
 Hudson Yards